Free shipping on all US order $38 and over with code FLYFREE
September 27, 2023
In this fun and easy tutorial, we'll show you how to create an adorable Halloween garland with Moth & Myth paper bat specimens! This project takes under an hour to complete, is appropriate for all ages, and requires just a few supplies!
Follow along with the video and written steps below!
Supplies:
* Halloween Bat Multi-Pack
* Black 2mm Rope
* Black Acrylic Beads 2mm Hole
* Black Tassels
* Hole Punch or Exacto Knife
* Scissors
Start by making holes in the wings of the bats for the rope to go through. You can do this with either the hole-punch or Exacto knife. We recommend placing the hole on the vein on the paper bat wings - this doesn't need to be exact!
Next, we're going to cut three pieces of the rope. The first one will be 6' long - this one will be used as the main part of the garland. The other two will be 24" long - these will be the tassel ends.
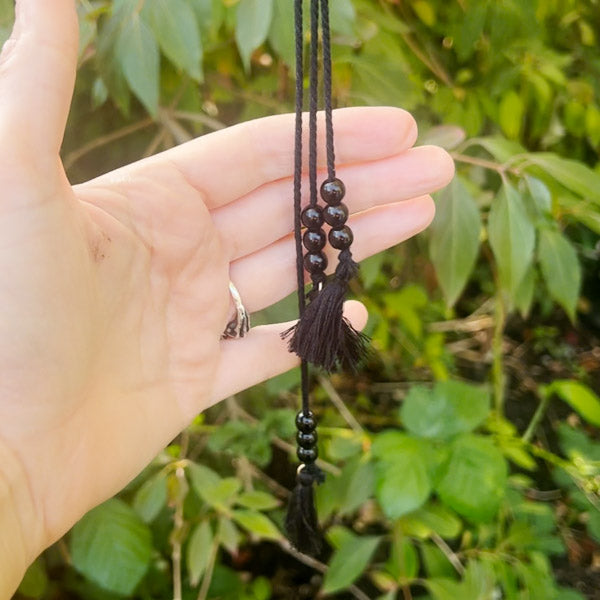
We'll work with the shorter lengths first! We'll string 6 beads on each of the shorter lengths of rope. We lightly singed the ends of rope first, to make threading the beads a little easier.
Once we've threaded all the beads, we'll tie one tassel on each end of the shorter ropes with a simple knot.
Fold the shorter lengths of rope at the middle point and separate the beads (3 on each end).
Now that we've completed the shorter ropes, we'll move on to the 6' long one! We'll start by threading 3 beads on one end, and adding one tassel with a knot.
With one end complete, it's time to start threading the bats! We'll thread them from the opposite end of the rope. You can play around with how you would like your bats to be positioned, and remember that they can alternate between facing forwards and backwards if you'd like!
Once all the bats are strung on the garland, it's time to complete the other end of the long rope. Add three more beads and one tassel.
Next, we'll tie our shorter lengths of rope onto the long rope to complete the tassel ends. We like these to be at varying lengths to make the tassel ends more dynamic, so play around with how you like it and then tie the shorter ropes onto the longer one with a knot.
All that's left now is to style the bats to make them appear even more life-like! We'll gently curl their wings & ears around our fingers to give them a bit of shape and really bring them to life.
And that's all there is to it! The bat garland is a fun an easy piece of decor that's perfect for the Halloween season. You can pack it away and use it again in future years!
We can't wait to see how you'll decorate for Halloween with Moth & Myth paper specimens, and hope you've enjoyed this tutorial!
Comments will be approved before showing up.