Free shipping on all US order $50 and over with code FLYFREE
- Home
-
Products
- 💫New!💫
-
Create Your Own Collection
- Moths & Butterflies
- Oddities & Curiosities
- Birds & Bees
- Other Specimens
- Miniatures
- Giant Specimens
- Value Packs
- The Echo Collection
- Greeting Cards
- Art & DIY Kits
-
Reseller Wholesale
- Artist Discount Program
- International Shopping
- About
- FAQ's
- Testimonials
- Blog
-
- Home
- Products
- International Shopping
- About
- FAQ's
- Testimonials
- Blog
-


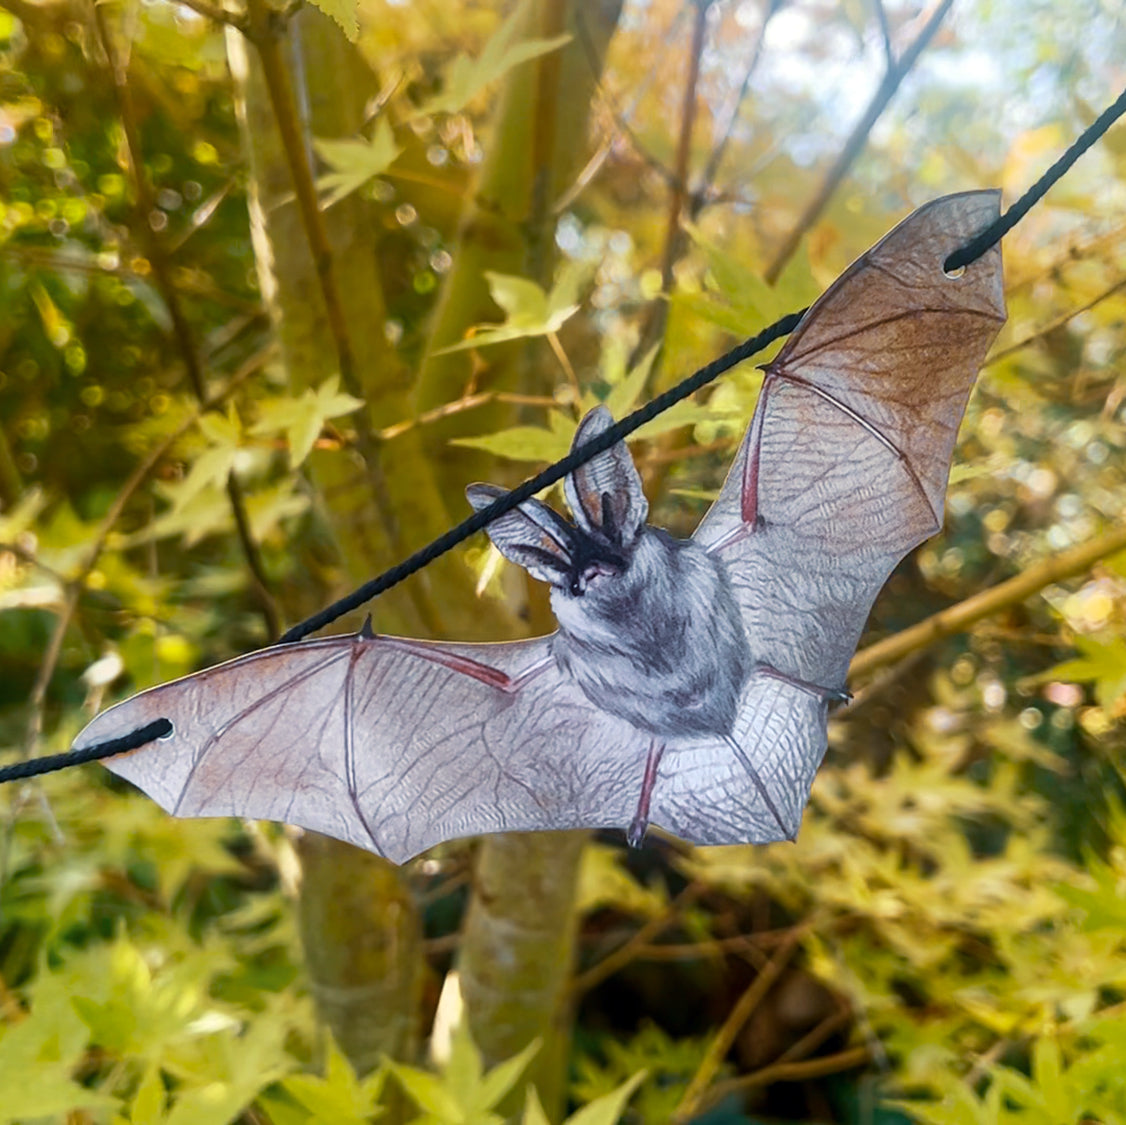


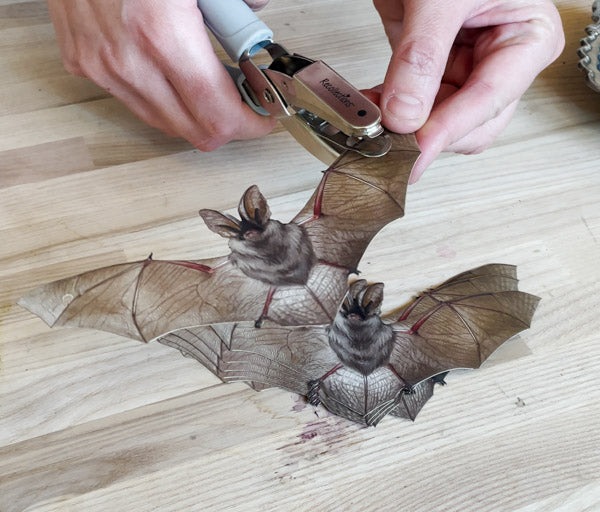


 Once all the bats are strung on the garland, it's time to complete the other end of the long rope. Add three more beads and one tassel.